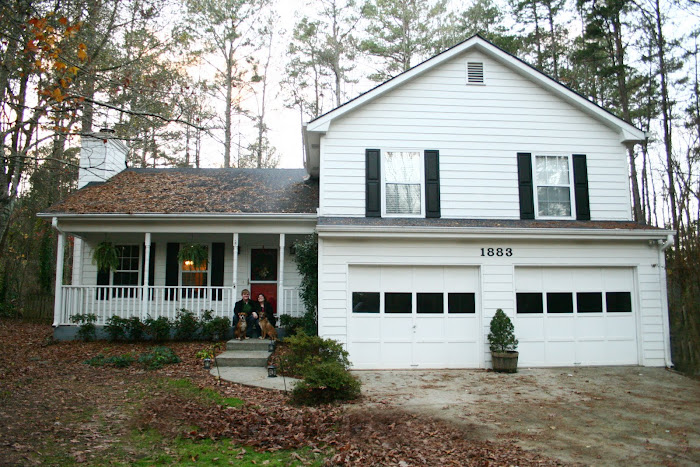
The house had been mainly carpet, with lino in the bathrooms and part of basement, and Pergo (fake hardwood) on the main floor. The carpet was disgusting -- filthy and old. When we pulled up the carpet and padding (we did this ourselves to save money), there was so much dirt and grime, it made us seriously reconsider ever having carpeting again. Buuuuut, we prefer to have it in the bedrooms (I hate cold floors at night, and I'm not a big fan of rugs). SO, we had Alberto Navarrete come and install hardwood (oak, with a cherry stain) on the main floor and stairs, as well as the upstairs hallway. Foster Enterprises came in to do the carpeting in the three bedrooms (we did a Frieze carpet -- sort of a shag -- in a multi-color). Dave Grashorn came and tiled all three bathrooms, the shower and tub surround in the master bathroom, and our laundry room. The only thing left for us to do flooring-wise was the basement. It was suggested that we refrain from installing hardwood or carpet in the basement (just in case it flooded -- with the laundry room & water heater down there, you never know!). I'm not a huge fan of tile in a big room like that, so we started looking into other options. We found out about concrete staining (http://www.concretenetwork.com/stained-concrete/sawing_and_patterning.htm). This is a really cool look, and we figured it'd stand up really well if the basement ever decided to flood. Through a friend of a friend, we received instructions on how to DIY the staining. Thus began the nightmare that is our basement floor.
When we pulled up the carpet and lino from the basement floor, the concrete was extremely damaged. The people who laid in the carpet previously nailed the tack strip (this runs along the edge of the wall to hold the carpet down) into the concrete. So when we pulled up the nails, each nail popped out a little hole of concrete. Then we pulled up the lino, which was apparently superglued to the floor. It left behind most of the papery backing of the lino, or just squiggles of yellowed glue. There were also cracks, paint stains, and bits of pine straw that had been laid in with the concrete. Here is the before picture with all the carpeting removed:

Well, we had two options. Option #1 was to pour a self-levelling concrete onto the floor to resurface it -- easiest option, however we would have had to wait 30 days to stain the floor (had to wait for the concrete to completely cure). Well, we didn't want to wait 30 days -- we, the all-knowing homeowners, thought we could get EVERYTHING done within a month and be all set. If only we'd known then! Option #2 was to clean the floor, fill in the cracks and pockmarks from the tack strip, grind the concrete to make it smooth, clean it about 4 more times (with NO chemicals -- just water), and THEN stain it. So we decided to do that. Well. We poured Quikrete into the holes and cracks. The grinding was horrible. It was extremely dusty, so D & Thomas came up with the idea of using it as a wet grinder (one person grinds while the other uses a hose to spray the dust down). We had to stop every few minutes to suck up all the water with a shop vac, and empty the vac every so often. Quikrete apparently doesn't bond properly with real cement, so it popped straight back out of the holes. 6 hours later, the floor was grinded (ground?). We found the right kind of concrete to use, and applied that to the holes. Filling them using a putty knife wasn't working out so well, so we tore up our hands mashing it into the holes. Piece of cake, right? So we did the next step, scrubbing away. D went to a specialty store in Duluth to get stain and sealant and applied both to the floor. Here is how it looks now:

Amazing, right? Not. You can't really tell from the picture, but the places where the holes and cracks were filled are super dark -- it looks like a row of misshapen polka dots around the perimeter of the room and around the doorways (there were squares of lino in front of the back and garage doors, so the carpet tack strip ran around those squares). There are some places where the holes weren't filled in 100%, so it looks uneven. Some of the grinding marks showed up. All in all, we weren't too happy about the final result.
As it stands we're considering a few options. The first is to resurface the floor, wait 30 days, and restain it and see how it looks (although I'm not too impressed with the way the stain turned out). Secondly, we can resurface and use concrete paint to paint the floor. Third, we can refrain from the resurfacing and just paint the floor. I think we're going to start off with the third option for now, and test some spots to see how it looks (if the unevenness shows up, we'll move on the resurfacing the floor!). We'll do another post to show the final results as soon as we get to it!


